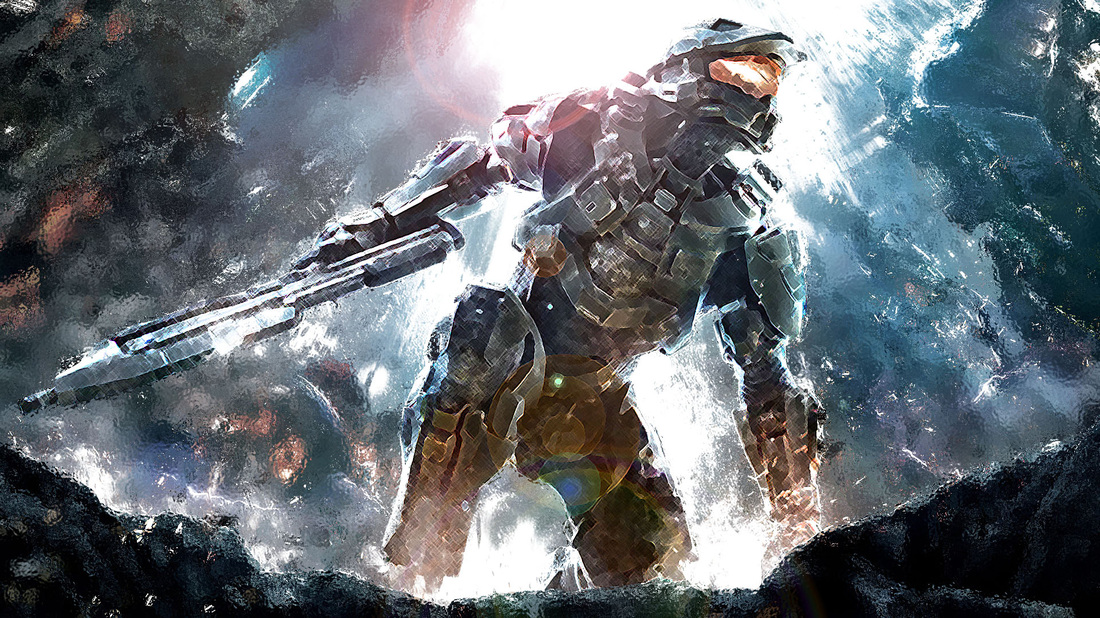
Select the highlights off of select>color range. Press edit and fill it with white. Then add bling to the areas that are reflecting light. You then select the body. Then click filter>distort then click on any of them and select accented edges. Then repeat but select crosshatch. And Refine the edges to give it more depth. Then go back to filter gallery and click glass. This makes the background more blurry giving it a heated characterization.
Select the ball and click control j about 10 times and move the ball in the direction of where you want it to be. Then you hide all of the layers with the ball. then you unhide the different layers asyou make new slide on animation.
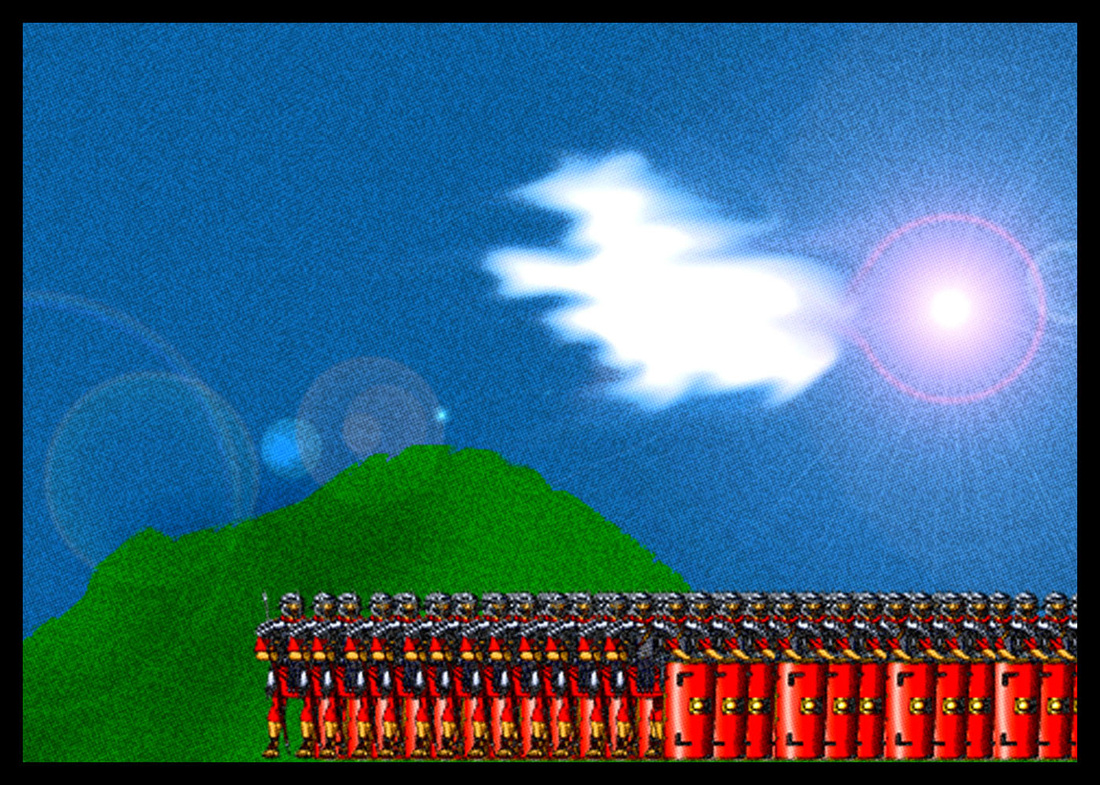
For this piece I have Made a landscape and made a mountain with the pen tool then i added some shadows with the burn tool. Then I got the roman soldier and copied them with the ctrl j and made it look as if the army was bigger and after that I changed the levels to make it darker. Then i added film grain. After that i put a stroke on the outside to give it a comic look and then i put in the color halftone filter and thats it.
for this gif i used the smudge tool and smugded the face of iron man on multiple frames until he dissappears. the link is above.
